how to Fixing CapCut Pro Export Issues: Why It’s Blurry or Stuck & How to Solve It
Video editing on mobile devices has revolutionized content creation, allowing creators to produce cinematic results from their pockets. However, few things are as frustrating as spending hours perfecting a timeline, color-grading footage, and syncing audio, only to have the final step fail. Export issues—whether the video comes out pixelated and blurry, or the rendering bar simply freezes at 99%—are a common headache for editors using advanced tools. If you are struggling with these rendering failures, understanding the technical root causes is the first step toward a solution.
In this guide, we will dive deep into the mechanics of rendering on mobile and desktop interfaces. We will troubleshoot why high-resolution projects lose quality upon saving and why complex timelines often crash the export engine. Whether you are dealing with storage bottlenecks, codec incompatibilities, or issues related to modified software versions, this article aims to restore your workflow efficiency.
CapCut Pro Export Issues explained clearly
When we talk about export issues, we are generally referring to the final stage of video production where the software compiles your raw footage, effects, transitions, and audio into a single viewable file (usually an MP4 or MOV). This process, known as rendering, is computationally intensive. It requires your device’s processor (CPU) and graphics unit (GPU) to calculate every pixel for every frame of the video.
CapCut Pro export issues usually manifest in three distinct ways:
First, there is the quality degradation issue. This is when the preview inside the editor looks crisp and high-definition, but the saved video file looks muddy, pixelated, or suffers from color banding. This is often a result of bitrate mismatch or aggressive compression algorithms used during the save process.
Second, there is the process failure, often referred to as getting “stuck.” This occurs when the percentage counter halts (commonly at 0%, 50%, or 99%) and refuses to progress regardless of how long you wait. This usually indicates a specific corrupt frame, a memory leak, or a conflict with a specific effect used in the timeline.
Third, there is the complete application crash. Upon hitting the export button, the app may close entirely, returning you to your phone’s home screen. This is almost exclusively a hardware resource issue, where the device runs out of Random Access Memory (RAM) attempting to process the request.
Understanding which of these three categories your problem falls into is crucial for applying the correct fix. A blurry video requires settings adjustments, while a crashing app requires resource management.
CapCut Pro Export Issues vs normal rendering delay
Before panicking and reinstalling software, it is vital to distinguish between a genuine error and a normal rendering delay. High-quality video editing is demanding. If you are editing 4K footage at 60 frames per second (fps) with heavy effects like motion blur, 3D zoom, or complex keyframes, the export process will naturally be slow, especially on older devices.
A normal rendering delay is characterized by slow but steady progress. Even if the percentage counter moves by 1% every minute, the system is working. The device will likely feel warm to the touch, which is normal as the processor is under load. In these cases, patience is the only requirement.
In contrast, a CapCut Pro export issue is characterized by a complete halt. If the progress bar has not moved for five minutes, or if the estimated time remaining is increasing exponentially rather than decreasing, the process has likely hanged. Additionally, if the export completes instantly but the resulting file size is 0 bytes or unplayable, this is a critical failure, not a delay. Recognizing the difference saves you from interrupting a healthy, albeit slow, render process.
Why CapCut Pro videos export blurry
One of the most common complaints regarding the CapCut Pro APK is that the output video lacks the sharpness of the original footage. You might import crystal-clear 4K clips, but the result looks like a 720p stream. This blurriness is rarely a bug; it is usually a result of incorrect export parameters or compression settings.
The primary culprit is usually the Bitrate. Bitrate defines how much data is stored for every second of video. If you select a high resolution (like 4K) but a low bitrate, the software has to compress the image data heavily to fit the constraints, resulting in “blocking” artifacts and blurriness, particularly in scenes with high motion.
Another factor is the Smart HDR setting. While High Dynamic Range (HDR) can make colors pop on supported displays, enabling it on projects that weren’t shot in HDR can sometimes cause the software to over-process the image, leading to unnatural smoothing or noise that is perceived as blur. Furthermore, disabling the “Remove Flicker” option when shooting under artificial lighting can cause visual inconsistencies that degrade sharpness.
Resolution mismatch is also a factor. If you edit a 1080p video on a 4K canvas and then export it, the software attempts to upscale the footage. Digital upscaling often introduces softness. Always ensure your timeline resolution matches your source footage for the crispest results.
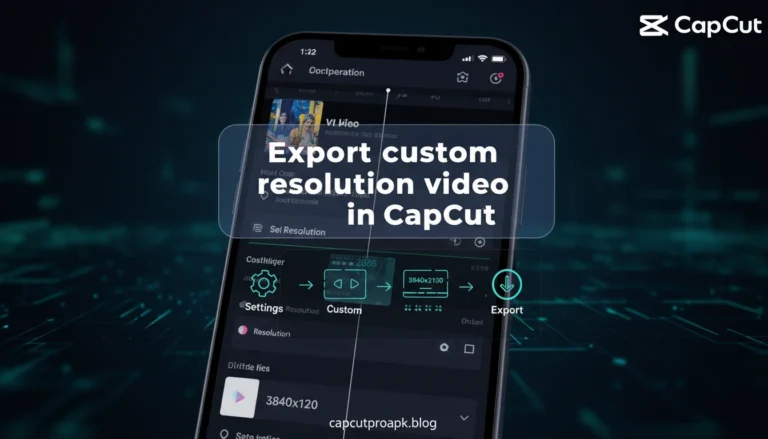
How export settings affect video quality
To ensure the highest fidelity, you must manually configure your export settings rather than relying on the defaults. When you tap the export icon (usually represented by an arrow in the top corner), you are presented with several sliders and toggles.
Resolution: This determines the pixel count. 1080p is standard for social media. 2K and 4K offer higher detail but result in significantly larger file sizes and longer render times. Use 4K only if your source footage is 4K.
Frame Rate (FPS): Standard cinema is 24fps, while social media trends toward 30fps or 60fps. Higher frame rates provide smoother motion but require more bitrate to maintain quality. If you export a 30fps project at 60fps, the software duplicates frames, which doesn’t add quality but does increase file size and rendering load.
Codecs (H.264 vs. HEVC): This is a hidden setting often found in the “more options” menu. H.264 is the most compatible codec and plays on almost any device. HEVC (H.265) offers better quality at smaller file sizes but requires more processing power to render and may not play correctly on older devices or certain platforms. If you are experiencing color shifts or black screens, switching back to H.264 is a recommended troubleshooting step.
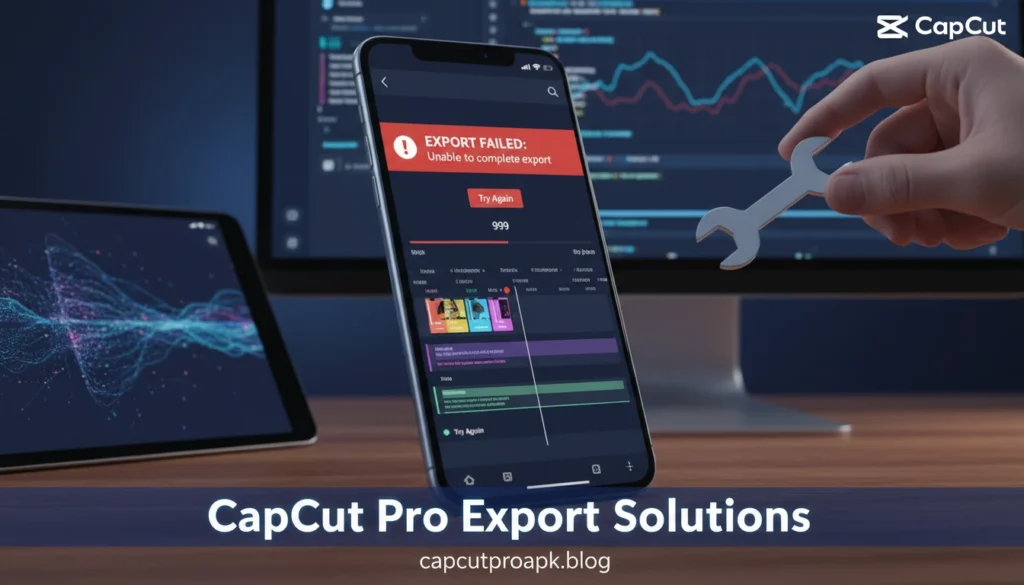
Why CapCut Pro export gets stuck or frozen
When the export bar freezes, it is almost always a resource management issue. Video rendering fills up the device’s RAM (temporary memory) very quickly. If you have other apps open in the background, or if your phone’s internal storage is nearly full, the export will fail.
The software needs swap space—extra storage space used as virtual RAM—to process large files. If your phone has only 500MB of free space and you are trying to export a 1GB video, the process will inevitably freeze. Always ensure you have at least 3-4GB of free space before attempting a heavy export.
Corrupt cache files can also cause freezing. Over time, the app accumulates temporary data to speed up editing. If this data becomes corrupted, it can conflict with the render engine. Clearing the app’s cache (via settings, not by deleting the project) can often resolve stuck exports instantly. If you need a comprehensive guide on how to Fixing CapCut Pro Export Issues, we recommend checking detailed tutorials that walk through cache clearing for specific Android and iOS versions.
Signs your export is stuck, not just slow
Identifying a stuck export early saves time. Here are the tell-tale signs that the process has failed and requires intervention:
- The Percentage Lock: If the counter stays at a specific number (e.g., 65%) for more than 5 minutes without changing, it is likely stuck.
- Temperature Drop: Rendering generates heat. If your device was hot and suddenly cools down while the progress bar hasn’t finished, the processor has likely stopped working on the task, even if the screen hasn’t updated.
- UI Unresponsiveness: If you try to cancel the export and the cancel button doesn’t respond, the application has crashed in the background.
- Visual Glitches: If the preview thumbnail on the export screen turns green, pink, or black, the GPU has encountered an error decoding the video stream.
CapCut Pro Export Issues on different platforms
Export stability varies significantly depending on whether you are using Android, iOS, or the PC version. iOS generally has the most stable rendering pipeline because the hardware is standardized. The app developers can optimize the export engine specifically for Apple’s Bionic chips, resulting in fewer crashes.
Android, however, suffers from fragmentation. With thousands of different devices utilizing different processors (Snapdragon, MediaTek, Exynos), optimizing the export engine for every variation is impossible. This often leads to hardware acceleration conflicts where the app tries to use the GPU but fails, defaulting to the slower CPU or crashing.
The PC version is generally more robust due to the availability of higher system resources. However, PC users often face driver-related export issues. If your graphics card drivers (NVIDIA or AMD) are outdated, the hardware encoder may fail to initialize, causing the export to hang immediately.
Platform-specific export limitations explained
It is important to acknowledge that not all devices are capable of all export settings. A mid-range Android phone from three years ago may physically lack the encoder required to export 4K video. If you force the Cap Cut Pro APK to export at settings exceeding the device’s hardware limits, it will fail.
For example, many budget devices do not support encoding 4K at 60fps. They might support 4K at 30fps or 1080p at 60fps, but not the combination of high resolution and high framerate. If your export fails repeatedly, try lowering the resolution to 1080p and the frame rate to 30fps. This reduces the throughput required and is often the only fix for older hardware.
Additionally, the file system of the device matters. Older Android devices formatted with FAT32 cannot handle single files larger than 4GB. If your video export exceeds this size, the write operation will fail at the very end. Formatting external SD cards to exFAT or using internal storage can circumvent this limitation.
APK and Mod versions causing export problems
Many users turn to third-party sources to access premium features without a subscription, often downloading a CapCut MOD APK. While these versions promise unlocked effects and transitions, they introduce significant instability into the export process.
Modified applications are altered by third-party developers who bypass the licensing verification code. In doing so, they often accidentally break or destabilize the rendering libraries. A legitimate version of the app communicates with the developer’s servers to verify assets and optimize cloud processing. Modified versions have this communication severed, which can lead to errors when the app attempts to finalize a video using server-side assets (like specific text-to-speech voices or auto-captions).
Furthermore, modded versions may not receive critical hotfixes. When the official app updates to fix a rendering bug related to a new Android OS update, the modded version remains on the old, buggy code base until the modder decides to update it.
Do CapCut Mod APK versions cause export failure?
The short answer is yes, frequently. The CapCut Pro APK relies on a complex integrity check during the export process, especially when premium filters (Pro features) are applied. When you use a CapCut MOD APK, the application is tricked into thinking it has permission to use these filters. However, during the final render—which is a process of rewriting the data—the internal logic often conflicts with the patched code.