How To Export My Custom Resolution Video On CapCut Easily in 2026
In the rapidly evolving landscape of digital content creation, video quality is the currency of attention. As we move through 2026, the standard for high-definition content has shifted from merely acceptable to absolutely mandatory. Whether you are a TikTok trendsetter, a YouTube educator, or a professional videographer using mobile tools, understanding the nuances of export settings is crucial. One of the most common hurdles creators face is navigating the export parameters of their editing software.
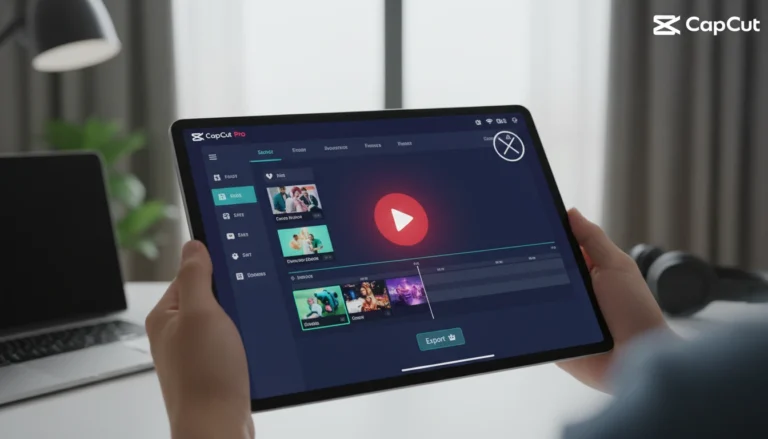
CapCut has solidified its position as a powerhouse editor, bridging the gap between amateur mobile apps and professional desktop software. However, users often find themselves confused by default settings that compress their hard work into muddy, low-quality files. To truly shine, you must know how to manipulate resolution, frame rate, and bitrate to suit your specific platform. In this comprehensive guide, we will explore exactly how to Export custom resolution video in capcut while maintaining the highest possible fidelity for your audience.
Why CapCut Changes Resolution Automatically?
Many users are baffled when they finish a high-quality edit, only to find the exported file looks significantly different from their source footage. This often happens because CapCut, like many editing platforms, attempts to optimize performance and storage.
The Logic Behind Auto-Compression
When you import a 4K video into a mobile editor, the app often creates a proxy or renders previews at a lower resolution to ensure smooth playback while editing. If you do not manually intervene during the export phase, the app may default to a standard 1080p or even 720p setting to save space on your device and speed up the rendering process.
Adaptive Project Settings
CapCut creates a project timeline based on the first clip you add. If your first clip is a low-resolution meme or a blurry image, the entire project resolution might default to that lower standard. Even if you subsequently add 4K footage, the canvas resolution remains locked to that initial file unless changed. Understanding this behavior is the first step in regaining control over your output quality.
Things To Check Before Exporting Custom Resolution Video
Before you even hit the export button, there are critical checks you must perform to ensure your custom resolution settings will actually result in a better video. Upscaling a bad video does not make it good; it only makes the file size larger.
1. Source Footage Integrity
Your export quality can never exceed your source quality. If you recorded in 720p, exporting in 4K will not add detail; it will simply stretch the pixels. Always ensure your camera settings were correct before you started filming.
2. Storage Availability
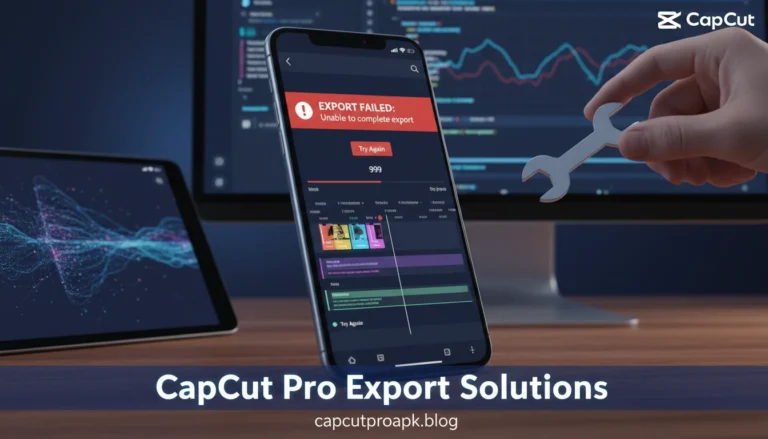
High-resolution exports, specifically 2K and 4K files with high bitrates, consume massive amounts of data. A 1-minute 4K video can easily exceed 500MB depending on the codec. Ensure your device has at least double the estimated file size available to prevent export failures.
3. Aspect Ratio Consistency
Resolution is tied to aspect ratio. Ensure your canvas is set correctly (e.g., 9:16 for TikTok, 16:9 for YouTube). Mismatched aspect ratios will result in black bars or unwanted cropping, regardless of how high your resolution setting is.
How To Export My Custom Resolution Video On CapCut for Android?
Android devices vary wildly in processing power, but the CapCut interface remains largely consistent. Here is the step-by-step process to override defaults and maximize quality on Android.
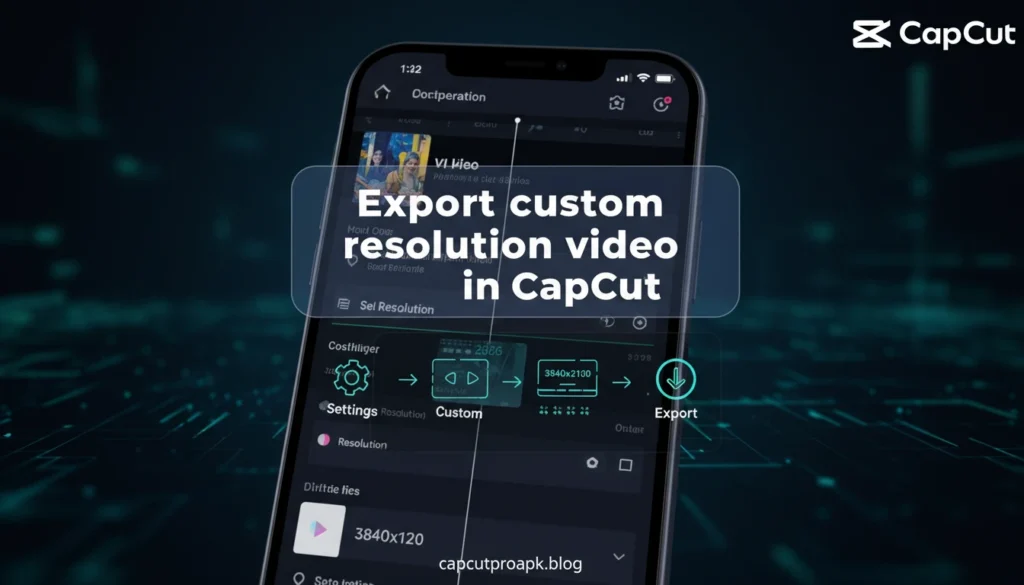
Step 1: Access the Export Menu
Once your edit is complete, look at the top right corner of the screen. You will see a button that typically says “1080P” or “720P” with an arrow. Do not click the arrow yet; click the text showing the resolution.
Step 2: Adjust Resolution Sliders
A drop-down menu will appear with three main sliders: Resolution, Frame Rate, and Code Rate (Mbps).
- Resolution: Slide this to 2K/4K for maximum sharpness.
- Frame Rate: Match your footage. If you shot in 60fps for slow motion, export in 60fps. If it is a talking head video, 30fps is standard.
- Code Rate: Select “High” or “Recommended”. Higher code rates reduce compression artifacts but increase file size.
Using Advanced Versions
For users leveraging tools like the CapCut Pro APK, you might notice smoother rendering times for these high-resolution files. The Pro version often utilizes hardware acceleration more efficiently on Android devices, allowing for faster processing of 4K exports compared to standard versions on older hardware.
How To Export My Custom Resolution Video On CapCut for iOS?
The iOS ecosystem (iPhone and iPad) often handles video compression differently than Android, primarily due to the efficiency of Apple’s bionic chips and the HEVC format.
Step 1: The Resolution Dropdown
Similar to Android, tap the resolution badge at the top of the interface. On iOS, you get a clean interface displaying options from 480p up to 4K.
Step 2: Smart HDR Settings
One distinct feature on iOS is “Smart HDR”. If your source footage was shot in HDR (High Dynamic Range) on an iPhone, ensure you toggle the “Smart HDR” switch in the export menu. Turning this off when exporting high-resolution video can result in washed-out colors.
Step 3: Codec Selection
iOS users should pay attention to the “Gif vs Video” toggle, but more importantly, verify if the app is exporting in H.264 or H.265 (HEVC). H.265 offers better quality at smaller file sizes but may be less compatible with older Windows PCs if you transfer the file later.
How To Export My Custom Resolution Video On CapCut for PC?
The desktop version of CapCut has grown significantly in 2026, offering granular control that rivals expensive professional software. It is a favorite for those who might be searching for the Cap Cut Pro APK on mobile but prefer the stability of a desktop environment for heavier edits.
Detailed Export Interface
On PC, clicking “Export” opens a dedicated window rather than a dropdown. Here, you have vastly more control:
Customizing the Resolution
Instead of a slider, you can often select from a list: 480p, 720p, 1080p, 2K, and 4K. The PC version ensures that “Custom” exports truly adhere to the pixel dimensions you require.
Bitrate Customization
The PC version allows you to choose between CBR (Constant Bitrate) and VBR (Variable Bitrate). For the highest quality custom resolution, choose “Customized” under Bitrate and set it to a higher value (e.g., 20,000 kbps for 1080p or 50,000 kbps for 4K). This ensures your custom resolution isn’t starved of data, which prevents blocky artifacts in complex scenes.
How To Export My Custom Resolution Video On CapCut for Mac?
CapCut for Mac is optimized for Apple Silicon (M1, M2, M3, M4 chips). This optimization allows for lightning-fast exports of custom resolutions.
ProRes and Advanced Formats
While the standard mobile app is limited to MP4/MOV, the Mac version sometimes offers broader compatibility. To export, click the “Export” button in the top right.
Resolution and Color Space
Ensure you select the correct color space (SDR vs HDR). When selecting your resolution (e.g., 3840×2160 for 4K), double-check the “Codec” dropdown. On Mac, using HEVC is highly recommended for 4K resolutions to keep file sizes manageable without losing visual fidelity.
Removing Watermarks
On Mac, ensure you are logged in to remove the default ending watermark. Custom resolution exports look unprofessional if they end with the generic CapCut logo. You can delete this in the timeline or toggle “Remove Watermark” in the export settings if you are a Pro user.
Using CapCut Pro for Custom Resolution Export
Is upgrading to the Pro subscription worth it for resolution alone? In 2026, the answer is largely yes for serious creators.
Enhanced Bitrate and Cloud Processing
CapCut Pro users often have access to “High” and “Higher” bitrate settings that are greyed out for free users. This does not change the pixel count (resolution), but it changes the quality of those pixels. A 1080p video exported at high bitrate often looks better than a 4K video exported at a low bitrate.
GIF and Audio Quality
Pro users can also export GIF files in custom resolutions, which is fantastic for creating high-quality memes or website assets. Furthermore, Pro often allows for exporting separate audio tracks in high fidelity (WAV), which complements high-resolution video.
While some users attempt to bypass these costs using a CapCut MOD APK, it is important to note that legitimate Pro features are server-side authenticated, meaning cloud storage and certain AI upscaling features for resolution enhancement are rarely available in modified versions.
Does CapCut Mod or APK Affect Custom Resolution Export?
This is a controversial topic in the editing community. Many users search for a CapCut MOD APK hoping to unlock 4K exports on devices that don’t officially support it.
Hardware vs. Software Limits
It is vital to understand that resolution limits are often tied to hardware, not just software permissions. If your phone’s processor cannot handle rendering 4K streams, no modified APK will successfully force it to export 4K without crashing or overheating.
Stability Risks
Using an unofficial CapCut Pro APK can lead to corrupted video files. Imagine spending hours editing a masterpiece, configuring your custom resolution to 4K, and having the app crash at 99% rendered. Modified versions often lack the stability patches pushed to the official app, making high-stress tasks like high-resolution rendering risky.
CapCut Old Version vs Latest Version for Custom Export
Software evolves, and so do export capabilities. In 2023 and 2024, many users clung to older versions of CapCut because the interface was simpler. However, in 2026, sticking to an old version is a detriment to video quality.
The 1080p Cap
Older versions of the app were often hard-capped at 1080p/30fps. The ability to export in 2K and 4K at 60fps is a relatively newer standard optimization. Using an old version effectively locks you out of modern high-definition standards.
Codec Efficiency
Newer versions of CapCut (including the official Cap Cut Pro APK updates) utilize better compression algorithms. This means a 4K video exported in 2026 will look better and take up less space than a 4K video exported using a 2024 version of the engine.
What are the best settings for social media?
Exporting “Custom Resolution” doesn’t always mean “Highest Resolution”. It means the right resolution for your destination. Here is a cheat sheet for 2026 platforms:
TikTok and Instagram Reels
- Resolution: 1080p (Do not use 4K).
- Why: TikTok and Instagram compress 4K video aggressively, often making it look worse than a native 1080p upload.
- Frame Rate: 30fps or 60fps.
- Format: H.264 (MP4).
YouTube
- Resolution: 4K (2160p).
- Why: YouTube uses the VP9 codec for 4K videos, which retains significantly higher quality than standard HD uploads. Even if your footage is 1080p, upscaling to 4K for YouTube can trigger their better codec usage.
- Frame Rate: Match source (24, 30, or 60).
- Resolution: 1080p.
- Why: Similar to Instagram, compression is heavy. Stick to standard HD.
For more insights on optimizing your video workflow and finding the right tools, you can visit capcutproapk.blog, a resource dedicated to maximizing your editing potential.
Conclusion
Exporting custom resolution video on CapCut in 2026 is less about hitting the highest number and more about understanding the relationship between your source footage, your device’s capabilities, and your destination platform. Whether you are using the standard app, the desktop version, or exploring the features of CapCut Pro, taking control of your export settings is the final, critical step in the creative process.
Remember to check your storage, verify your aspect ratios, and choose the bitrate that suits your needs. By moving away from “Auto” and embracing “Custom,” you ensure that your creative vision is viewed exactly as you intended, crisp, clear, and professional.